


How-To Add a Record Manually To CardExchange® Controller
Every organization has a preferred way of adding a record either manually or by importing it from a file. The CardExchange® Controller offers an easy-to-use interface with field options that you can fill in when adding a record manually.
In this article, you will learn the basics of adding a record manually in CardExchange® Controller and how you can use them to fill in personal information.
It starts by clicking on the “+” (Add Person) button next to the Total Records.

After you click on it, the New Person window will pop up. Fill in all needed information starting from the Personal Data. Click on “Save & Close” when you have filled in the required information. Do not forget to check the personal details to make sure that the information filled is correct.

Click on the next tab, “Address Details”, then click on “+” (Add Address) to fill in the address information.

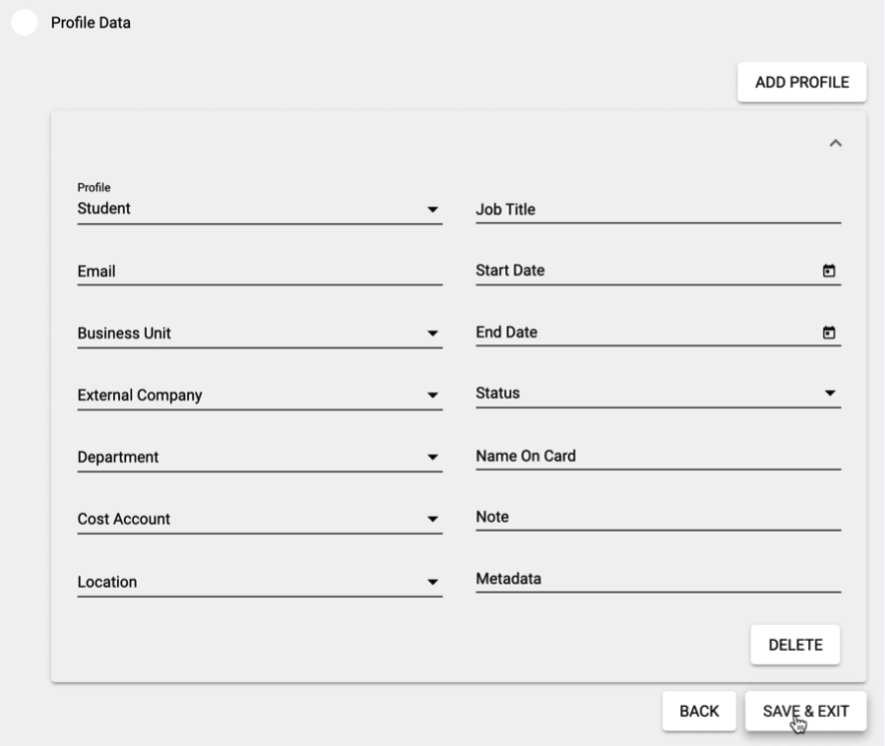
Fill in the address data, and click on “Save & Close” when you are done, or click “Continue” to fill in the Profile Data.

When you are done filling in all the information you need, click on “Save & Exit”. To make changes to the previous data before closing the window, click on “Back”.
After following all the steps, you have completed adding a record with the manual way! Note that all the fields that are marked with “*” are required. Make sure to double-check all information that has been filled in after closing the New Person window.